
1. Create an Account

Monophonic.io Login / Sign-Up Screen To get your band’s website launched, start by visiting https://manage.monophonic.site/signup and, well, sign up. No credit card needed, and you’ll get a 14-day trial. Next, you’ll enter some information about your band / you as an artist:
1

Your name

Enter your first and last name.
2

Artist Information

Next, you’ll enter the name of your band or of yourself as an artist.
3

Subdomain

By default, you get a monophonic subdomain, e.g. “myband.monophonic.site”, so enter your desired subdomain (you’ll be able to connect a custom domain if you want later on)
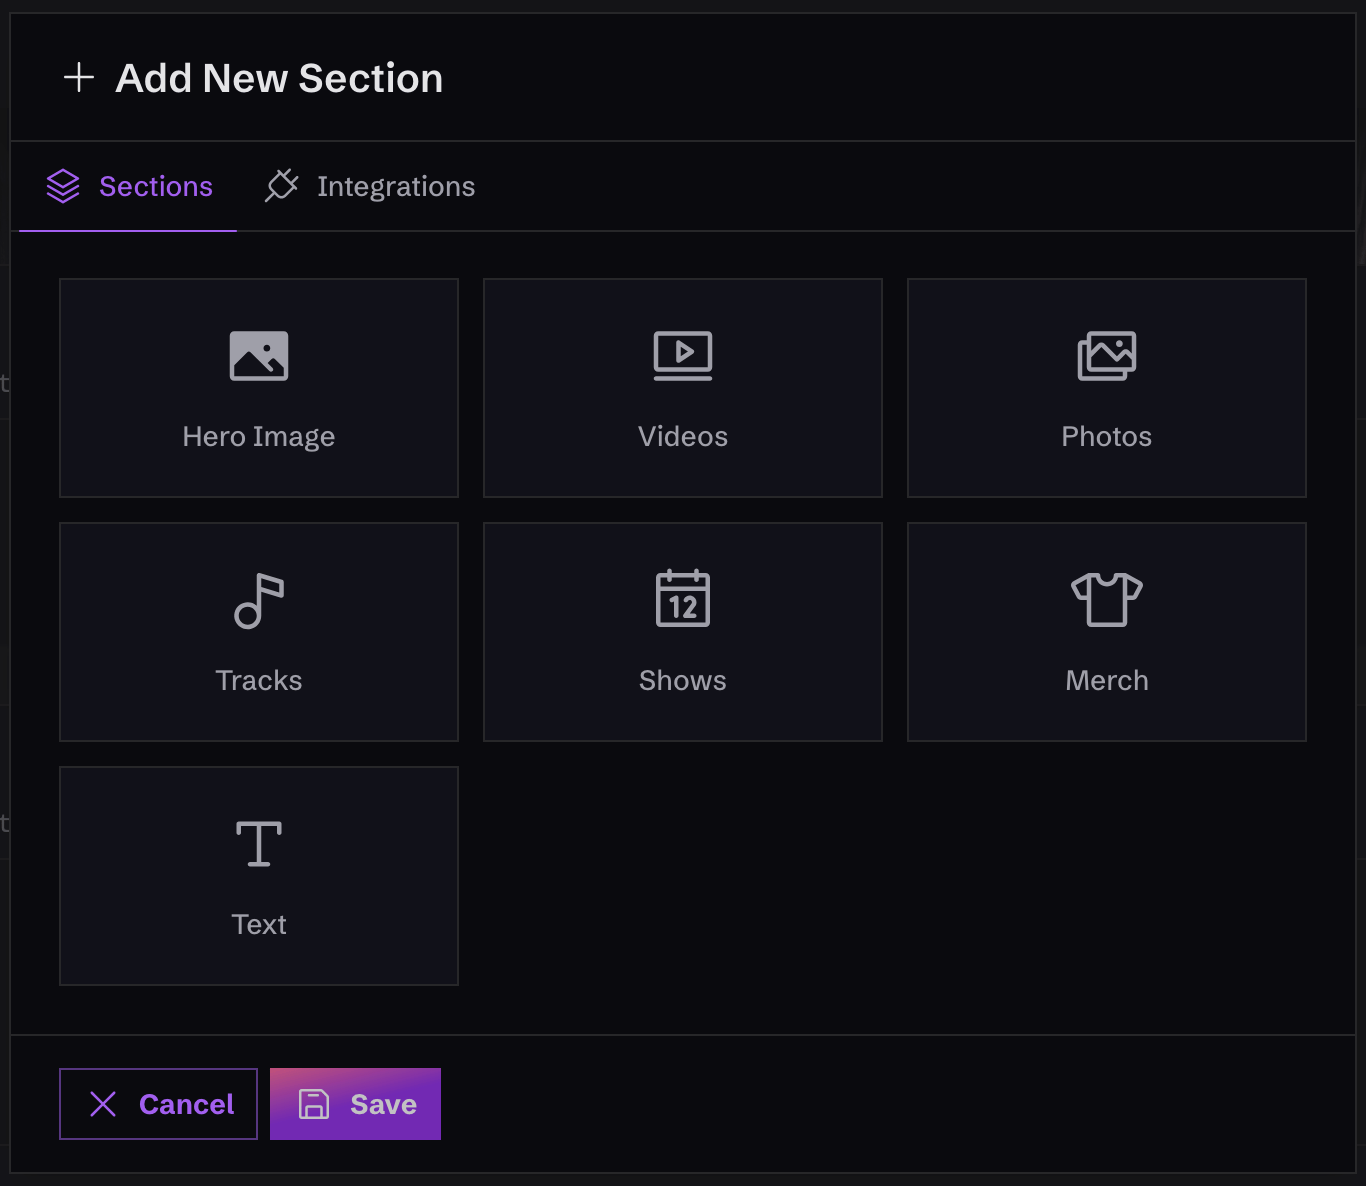
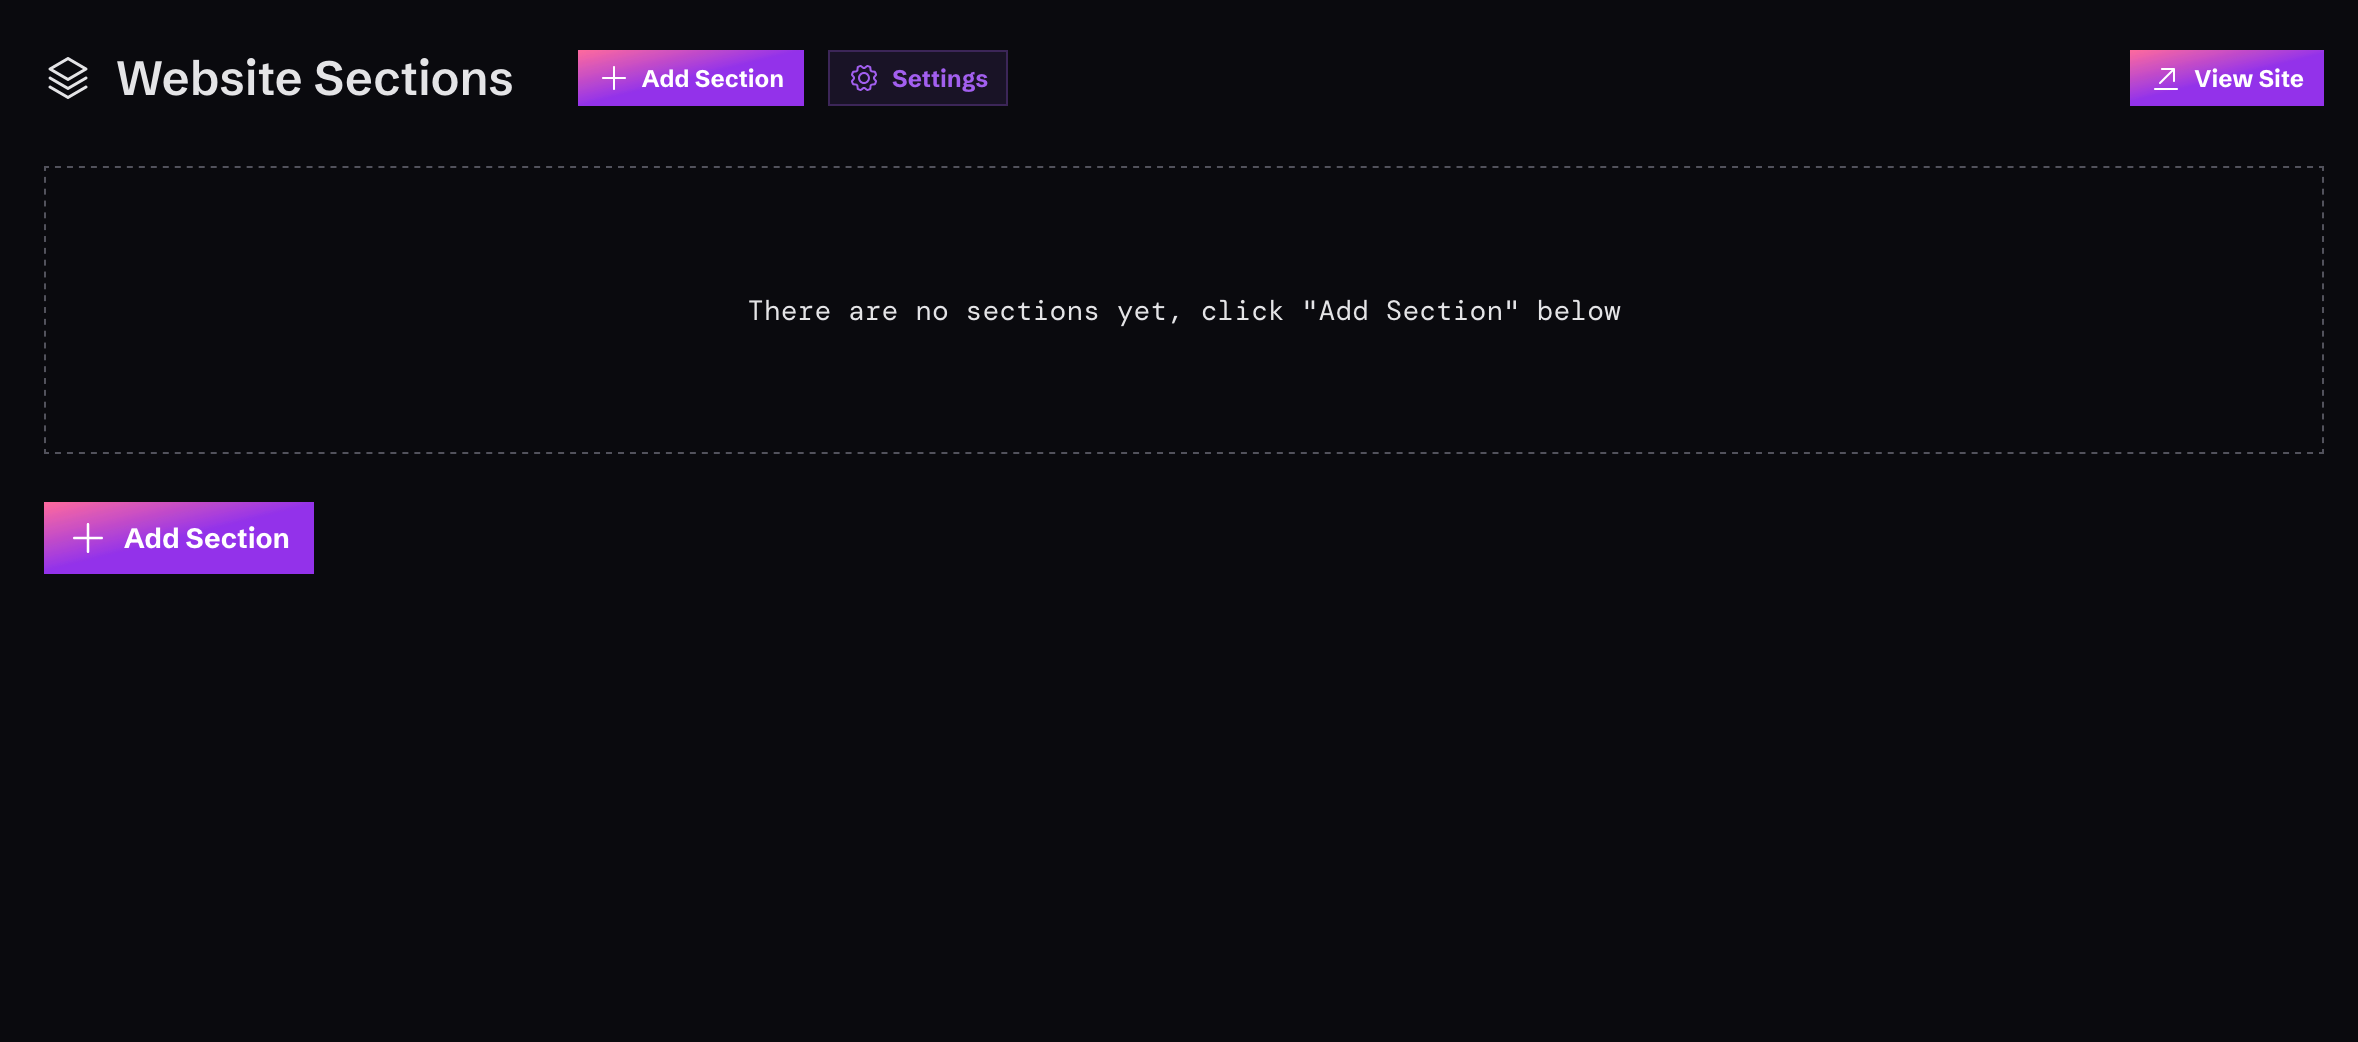
2. Add Content

Monophonic.site dashboard with empty track content Monophonic.io supports various kinds of content to display in your site, including Tracks, Shows, Photos, Videos, and others. Before you can show any of this conent in your site, you’ll need to add it to the system. To add content, just visit the content area… you’ll see a button to add new content of that type. Click that and add away!

Learn about different content types

To get more details about each of the available types of content, visit any of these links:

3. Create Site Sections

Choosing sections for your Monophonic.io site Once you’ve added some content, the last step is to create “Sections” for your website. A Section is just a part of the site that shows off some of your content, like your latest single or music video.

Learn about different section types

To get more details about each of the available types of sections, visit any of these links: